Guest Post: Interview with Kelley Pitcher, Creator of Belly Bowls
Today we have a special guest blog post from Kelley Pitcher, a small-batch potter and creator of The Belly Bowls. Kelley teaches clay classes to young people, is an avid home baker, and loves to spend time in the kitchen with her family.
How did you come up with the idea for the Belly Bowl?
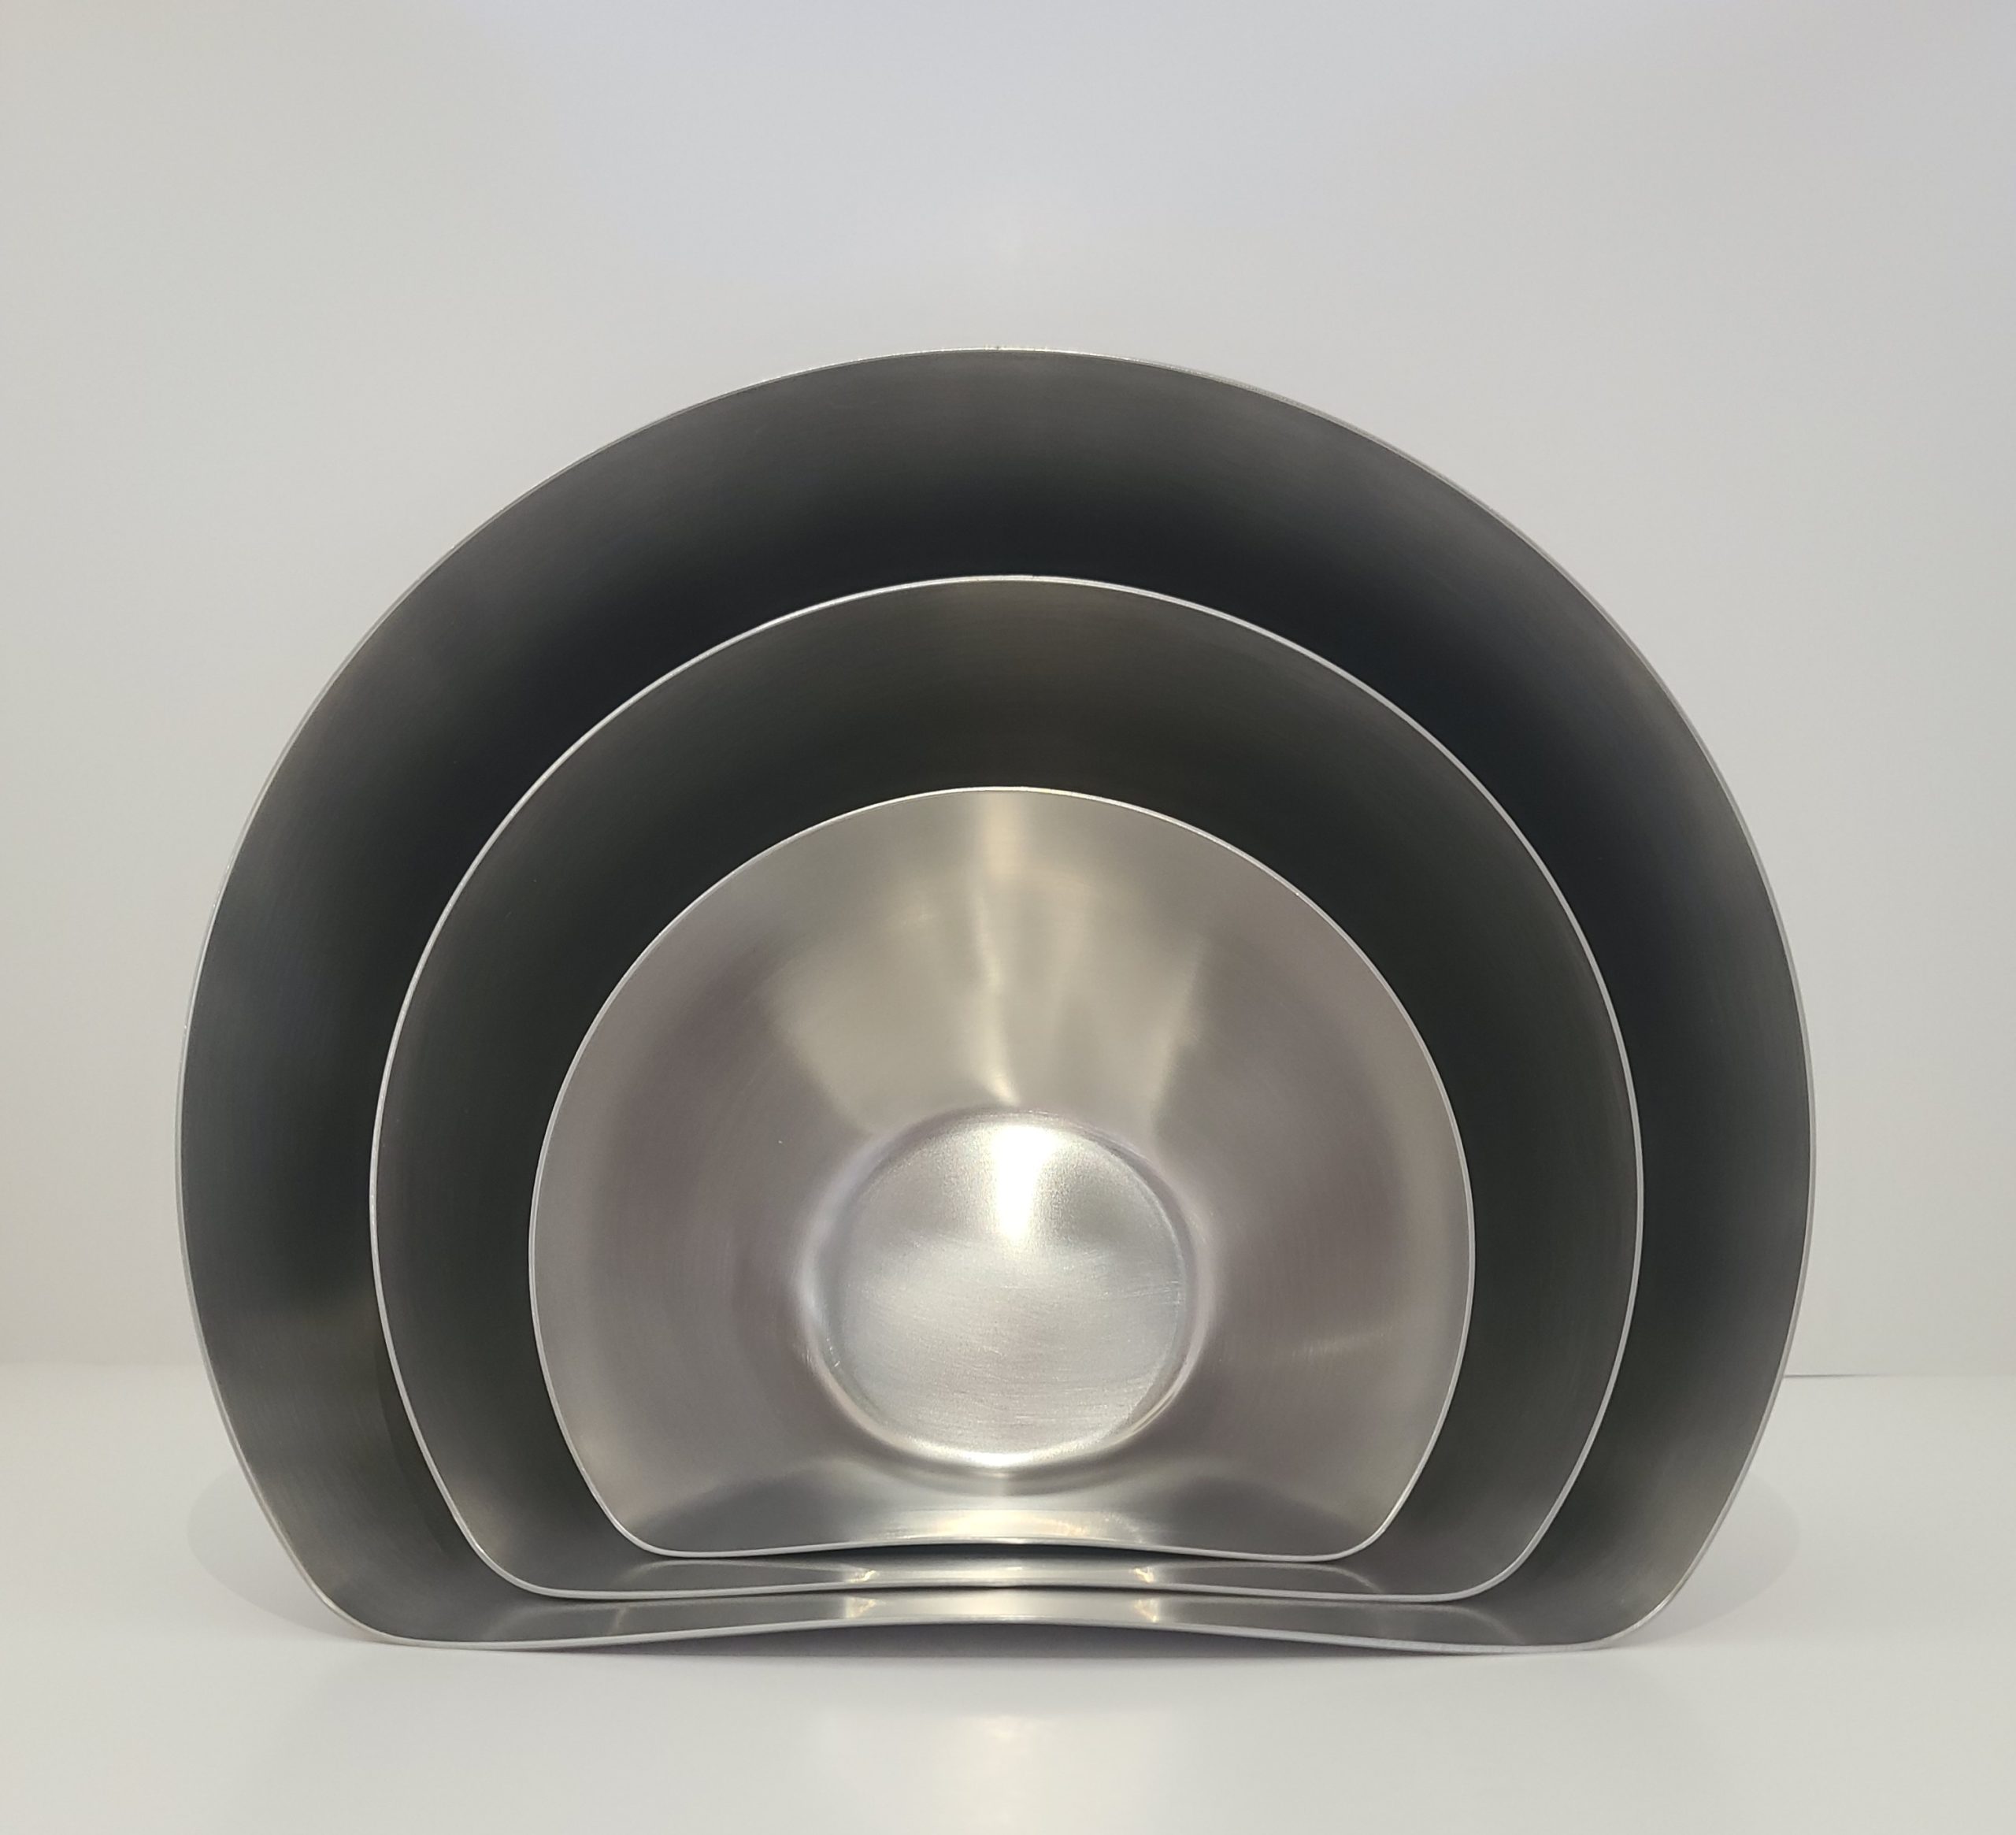
About a decade ago, a friend asked me to create a custom-made bowl that he could cradle close to his chest. The purpose? To catch snacks! I crafted a large pottery snack bowl and carefully pressed an indentation on one side. As an enthusiastic home baker, the moment my eyes fell on the altered bowl, my mind was buzzing with baking possibilities. Since ceramic bowls aren’t so practical for everyday use, I had a set created from stainless steel, and the Belly Bowl was born.
Belly Bowls offer multiple advantages to home cooks: greater control of the bowl while mixing, less strength required to hold the bowl, and easier pouring from the edge of the concave side.
Who will the Belly Bowl benefit?
The Belly Bowl will benefit cooks with reduced hand/arm strength, coordination, and gross motor function. Unlike a traditional mixing bowl, the contoured shape can be held against the body, which eliminates the need for gripping the side of the mixing bowl. The flat side prevents the bowl from slipping out of the hand while mixing or moving the bowl.
I realized that the Belly Bowl could help those with chronic conditions when I gifted a set to a friend who has multiple sclerosis (MS). She loves how Belly Bowls give her more control while cooking and baking. My mom, who lives with arthritis, recently stopped mixing cake and cookie dough by hand because it was too painful. Using the Belly Bowl allows her to join in our holiday baking traditions with less pain. Being able to hold the bowl steady between her side and forearm keeps her from worrying that she might drop the bowl while carrying it around the kitchen. I hope that Belly Bowls will similarly benefit anyone with chronic conditions that make cooking more challenging, such as arthritis, MS, fibromyalgia, and fatigue.


Why is accessible cooking important to you?
As a potter I teach clay classes to homeschooled students, some of whom have physical and developmental disabilities. Every time I offer the ball of clay and tools to my students, I see a change in them. Some students open up to others around them and making it a collaborative, social experience. Some enjoy the tactile experience. Others focus on their project and become calm and content in their own space. I’ve seen how working with clay offers an excellent opportunity to build a variety of physical and developmental skills.
After hearing how the Belly Bowl makes cooking more accessible to friends, family, and strangers, I thought about the experience that my students have in clay class. I hope that putting the Belly Bowl in the hands of cooks of all abilities will help to provide a more positive experience in the kitchen and open new opportunities for enrichment.
It’s important for everyone to gain confidence in their own abilities. My hope is that the Belly Bowl can become one tool to encourage everyone to enjoy cooking, learn a new skill in the kitchen, and connect with friends and family over a shared recipe.
What’s your favorite recipe?
My favorite recipe is for coffee cake.
Cinnamon Filling:
3⁄4 c brown sugar
3⁄4 c all-purpose flower
2 tsp ground cinnamon
Crumb Topping:
6 tbs melted butter
1 1⁄2 tbs ground cinnamon
1 cup brown sugar
1 c all-purpose flour
Cake Batter:
1 c softened butter
1 c sugar
2/3 c brown sugar
3 eggs
1 tbs vanilla
3⁄4 c sour cream
1 tsp salt
3 tsp baking powder
1 1⁄4 c milk
3 2/3 c flour
2 cups fresh or frozen blueberries (optional and can be swapped for other fruit)
Assembly:
Pre-heat oven to 350 degrees
Mix together cinnamon filling in small bowl and set aside. In your large bowl, combine butter, sugar, and brown sugar. Whip until completely combined. Next mix in sour cream and eggs until incorporated. Add milk and vanilla and mix again. You can now add in the rest of the ingredients (flour, salt, & baking powder) and stir until the batter is smooth and free of most lumps.
Pour *HALF* of the batter into a greased and lightly floured 9x13inch pan. If you are adding fruit, add half of it now by sprinkling it across the top of the batter. Sprinkle the cinnamon filling, spreading as evenly as possible across the top. Pour the remaining batter around the pan, and spread as evenly as possible. It seems thin, but it will bake up fluffy. Add the remaining berries if using and set aside. In the small bowl you used for the filling, combine melted butter, brown sugar, ground cinnamon, and flour. Using your hand or a fork, mix together until fully incorporated and crumbly. Spread evenly over the top of the cake. Bake for 40-45 minutes with no fruit, or 50 minutes with fruit, or until a toothpick inserted in the middle comes out mostly clean. Let cool and enjoy!
Tags In
Related Posts
Leave a Reply Cancel reply
This site uses Akismet to reduce spam. Learn how your comment data is processed.
Interested in writing a guest blog post or want to advertise on Accessible Chef? Reach out to me at anna.moyer@gmail.com.
Recent Posts
- Guest Post: Interview with Kelley Pitcher, Creator of Belly Bowls
- Five ways meal prep kits like HelloFresh can support cooking skills in people with intellectual disabilities
- 40 Festive Visual Recipes for Fall
- 21 Visual Recipe Ideas for Memorial Day, 4th of July, and Summer Picnics
- Guest Post: Seven DIY Kitchen Hacks


